Vintage Invoice
Just because the invoice is a business document, doesn't mean it has to be boring
This example shows how you can generate nice vintage invoices from data in a spreadsheet. It will generate a PDF document that displays the data in a beautiful table and sends it as an attachment to your customer and optionally to your accountant.
The generated invoice will be uploaded to Google Drive and all generated invoices will also be tracked in the Google Sheet.
This makes invoicing very simple and all relevant data is securely stored in your beloved Google Apps.
The invoice is generated from a LibreOffice document that is used as a template. To customize the layout of the invoice, open the LibreOffice document from your local Google Drive folder.
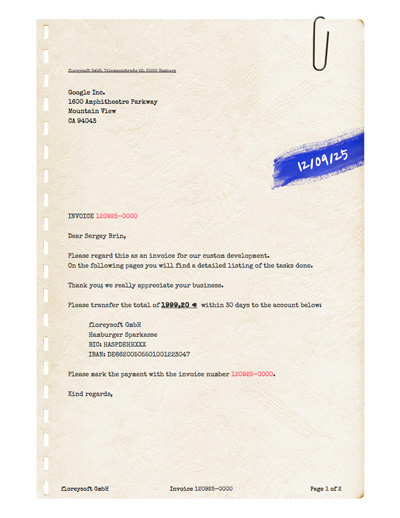
You can modify the template to contain your company logo, address and your signature if desired.
The Google Sheet contains the timesheet and the project data like your customer's name, the currency and other settings.
Get your free copy of the Vintage Invoice Application.
Getting started
You will have to perform a few simple steps. After you have logged in to Ultradox and copied the example to Google Drive, you will find a number of files in the project folder:
Open the project folder on google drive
In the project folder you will find one LibreOffice document Vintage Invoice.
The Timesheet Spreadsheet is used to collect all the orders like the project settings, hours per date and category and the folder Invoices will contain all the generated invoices so that you can easily find and resend invoices on demand.
The red Vintage Invoice file is the Ultradoc that contains all the actions to be performed.

Make it yours
Open the Timesheet Spreadsheet right from Google Drive or by clicking on the edit icon in the building block referencing these docs.
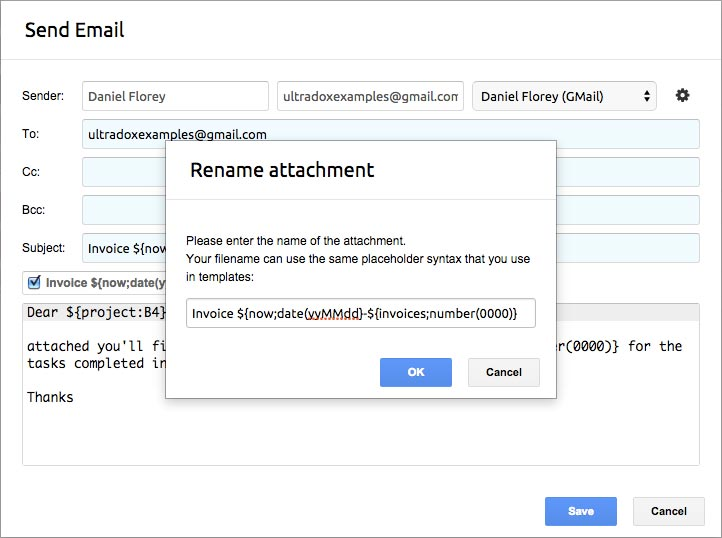
Open the Vintage Invoice Ultradoc and enter the email of the recipient who gets the invoice by clicking on the edit icon in the building block.
Rename the attachment by copy the name of the subject field then your email have the invoice number in the subject of the email.

Execute
After you have copied the example, the signup form should trigger Ultradox when users submit the form. If no confirmation mails are being sent, please double check if the trigger has been activated.
You can activate or deactivate the trigger
To activate the trigger, open the Spreadsheet and launch the Ultradox Trigger from the Add-ons menu.
In the sidebar you will find a section where you can activate or deactivate the trigger. If you activate your very first trigger, you will have to grant access to the script that manages the triggers.
Once the trigger is enabled, you can go to the live form by clicking on Form -> Go to live form to test if everything runs as expected.
Fill out the form and use your own email address to find the order confirmation and invoice in your inbox. In the spreadsheet you will find the order as soon as the user submits the form.
When generating the invoice the spreadsheet row containing the order will be updated so that you can find a link to the generated invoice and the date when the confirmation mail has been sent out.


Questions and Feedback
If you have any comments on this page, feel free to add suggestions right to the Google document that we are using to create this site.
If you are not yet member of the Ultradox community on Google+, please join now to get updates from our end or to provide feedback, bug reports or discuss with other users.
Last Updated: 12/20/18