Airtable Mail Merge
Perform a mail merge using the Airtable Base Employee Directory
With this Ultradox automation you can perform a mail merge.
Ultradox uses your data from the Employee Directory example base, that provides all relevant data to be merged into the PDF documents and prints them on your printer using Google Cloud Print. The generated documents will also be stored in a folder on Google Drive.
Configuration
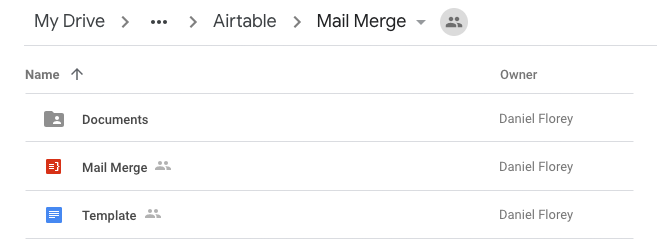
After copying the example to your Google Drive (My Drive), you will find the following files and folders in the Mail Merge project folder:
The Ultradox Automation Mail Merge, the Google Docs template Template and the folder Documents.
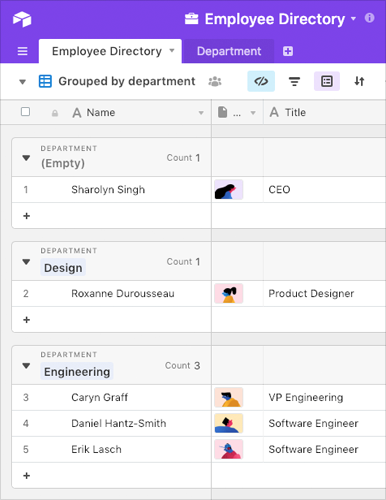
Airtable Employee Directory
As this example uses the data from the Employee Directory example, please copy the example base into your Airtable account. You can then perform the mail merge using the provided sample data or populate the base with your own data.
Ultradox Automation Mail Merge
If you have never connected Ultradox to your Airtable account you will have to grant access to your Airtable account by clicking on the key icon in the first building block.
You will then get prompted to enter your API key. Copy and paste the Airtable API key into the text field to grant access to your Airtable account.
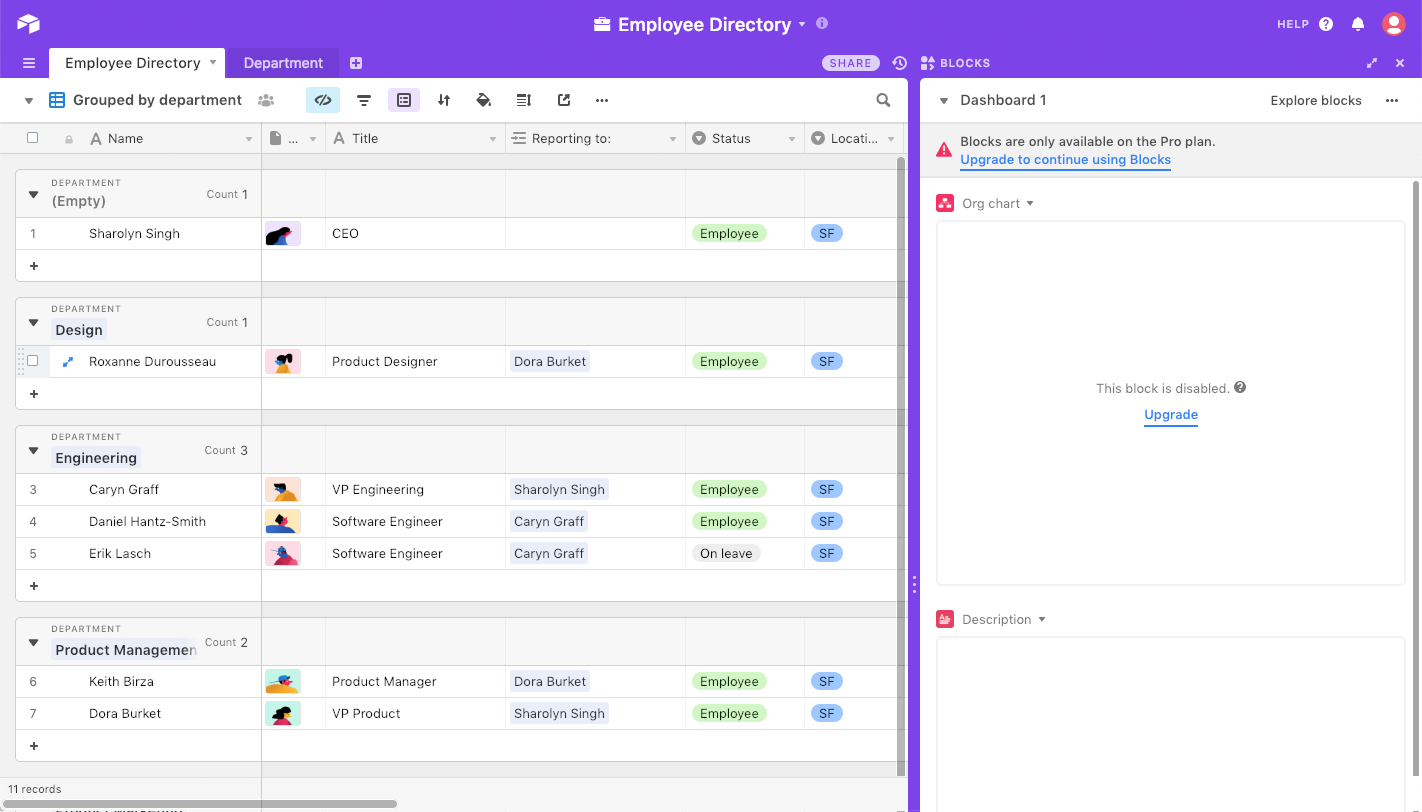
After you have successfully connected your Airtable account, you can then select the base and table to be loaded.
Click on Employee Directory in the first building block to open the Airtable picker dialog and pick Employee Directory from the Employee Directory base.
The data is loaded into the List records building block.

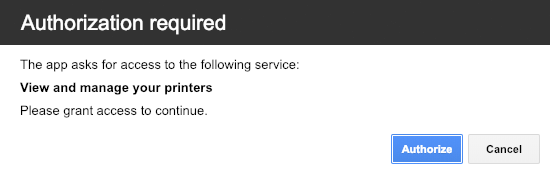
In the Print document building block your can select your cloud-ready printer, on which the PDF documents are printed directly during you run the automation. Click on given printer in the title of the building block and select a printer.
Click on given printer in the title of the building block and select a printer. If necessary, allow Ultradox to grant access to your printer settings.
In addition, the individual PDF documents are saved in the folder Documents and can be used or printed later.
Make it yours
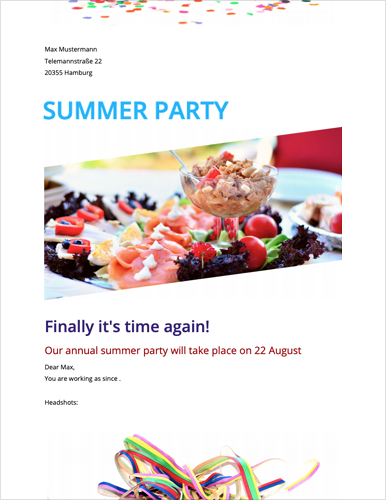
Google Docs Template
Open the Google Docs template Template and design the template for your mail merge. Change the title, text and images, but make sure you keep the syntax of the templates (like ${fields.name}) and the functionality.
However, adjust the font, font size and font color of the templates as required.
The instructions and variables in the template tell Ultradox to generate for example the address or name of your employee. Do not mess up the instructions or variables!
Familiarize yourself with working with variables if you want to add more placeholders, conditions, or loops to your contract.
Run
Open the Automation Mail Merge and click on the Run button in the menu bar of the automation. Ultradox will create a PDF document for all entries of the Airtable Empoyee Directory and send it to your cloud-ready printer.
Test
To generate and print a single document instead of running the mail merge for all records, click on records matching query in the first building block and enter the number 1 for Max Records in the Configure Airtable query dialog.
In addition, you may want to switch off the Print document building block using the of/off switch. When running your automation, only a single PDF document will be created and stored in the folder Documents.
Congratulations! You have successfully created a single personalized document for each record in your base.
Questions and Feedback
If you have any comments on this page, feel free to add suggestions right to the Google document that we are using to create this site.
If you are not yet member of the Ultradox community on Google+, please join now to get updates from our end or to provide feedback, bug reports or discuss with other users.
Last Updated: 2/19/19