Contact form
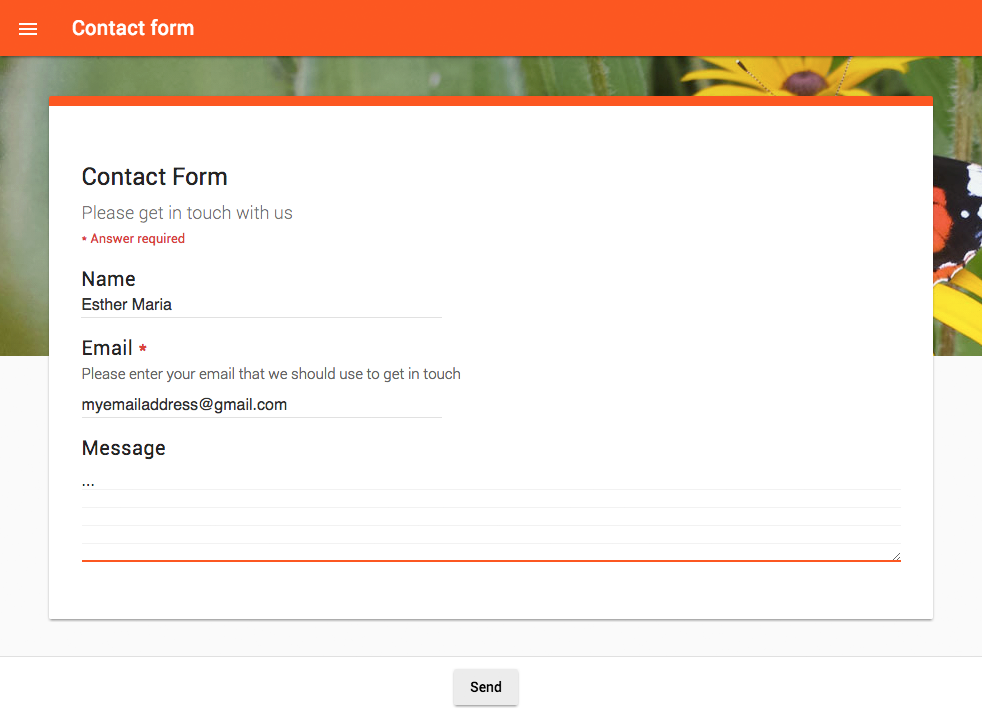
The following steps show how to create an automation that creates a contact form, sends a confirmation email to the user, and lists your customers' responses in a Google Sheet.

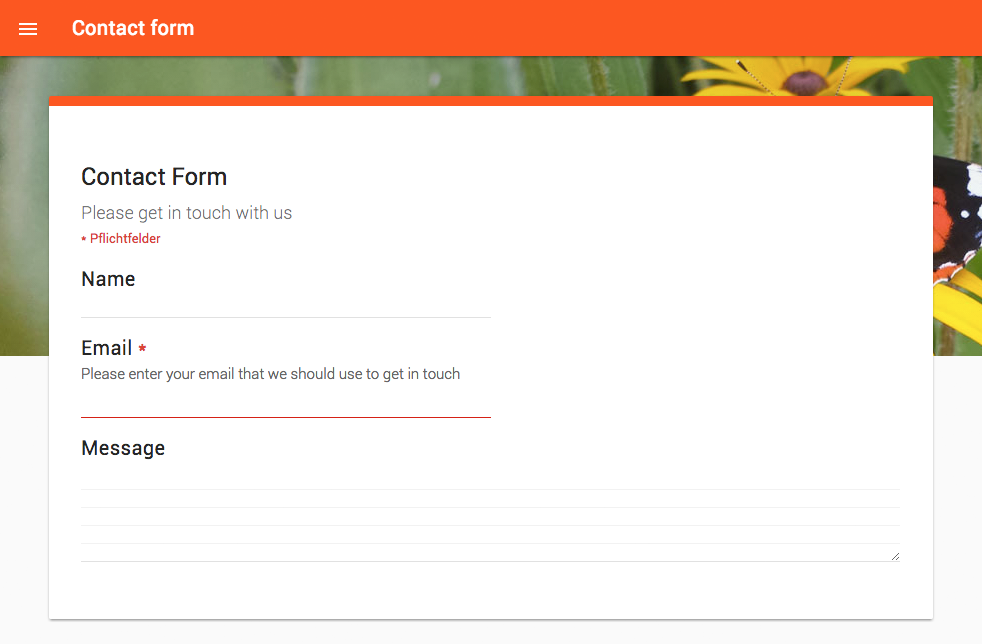
The resulting simple app plays nicely on desktop and mobile devices.
Topics
- Create a contact form
- Lists customers' responses in a sheet
Prerequisites
- You have already added Ultradox to your account so that you can create new Ultradox files from Google Drive
Goals
- Get your first contact form for your customers
Instructions
Adding a Form
|
|||
Create a new form by dragging a Form building block from the User Interaction category in the sidebar into the canvas.
Create the input fields
Click on the bold part of the title of the Form building block and open the customize form dialogue to configure your form. Our form editor offers many different form field types. In this case, we use three of these types to ask for the name and e-mail address of the user and to add an input field for a message.

First add a Short Text building block and enter the user prompt and a help text for the user.
While you enter the prompt Name, the variable is automatically named.

Then add a Email field and ask for Email and enter the help text Please enter your email that we should use to get in touch.
Define the input field as required field (red button) couse we need the email for contact.

Finally, add an Long Text building block for the customer message, enter the user prompt and the help text.
Click on Apply and close the editor.
Configure submit button
Finally, we adapt the caption of the button that is displayed to the users in our form.
Click on the user interaction icon in the toolbar of the Form building block, clear the default Title and Description and enter the button Send.
This will replace the default Next button to show Send instead.
Store the fields in a Google Sheet

After you have customize the form, click on the spreadsheet icon in the output section of the form building block.
That will create a Google Sheet to store the fields and collect the customer input.
Note that the spreadsheet icon in the title of the form building block contains a different function.
|
|||
Automatically Ultadox add an Create row building block at the end of your flow.
You can open the Google Sheet by click on the sheets icon in the title of the Create row building block.
Send confirmation emails
Now add two Plain text email building blocks from the Email section in the sidebar to your flow, to send a confirmation message to the customer and to inform yourself.
|
|||
To configure the first Plain text email building block click on the bold part of the title to open the email dialogue. Specify the sender and recipient. Use the variable ${email} in the To field for the email address. Ultradox will then use the entered email address from our form.
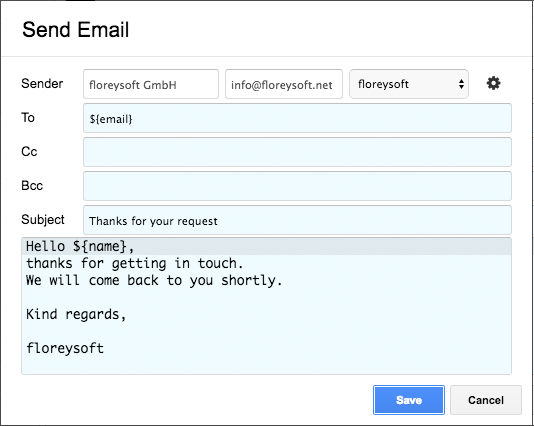
Enter a useful subtitle and a message for the confirmation email for the customer like:
Hello ${name},
thanks for getting in touch.
We will come back to you shortly.
Kind regards,
Save the setting.
|
|||
To configure the second Plain text email building block to inform yourself, enter your email address in the To field and the Subtitle and a message.

Therefore use the variable name and message from our form:
We have received a contact request from ${name}
Message:
"${message}"
Save the setting.
Configure user interaction
|
|||
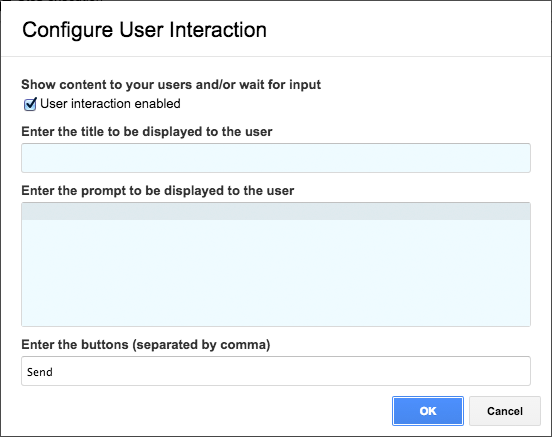
Bevor we enable our form as an app, we add a Stop building block to the end of the flow. This offers the possibility to display informations after our users have completed the app.

Click on the user interaction icon in the toolbar of the Stop building block and enter the title to be displayed and the user prompt for example:
Thanks for your request
We have received your request and you should get a confirmation email shortly.
The app is complete!
The improved app is complete and should look like this:
|
|||
|
|||
|
|||
|
|||
|
|||
Configure App
Now we are ready to enable our automation as an app to turn it into a user facing app that will be immediately available on the web!
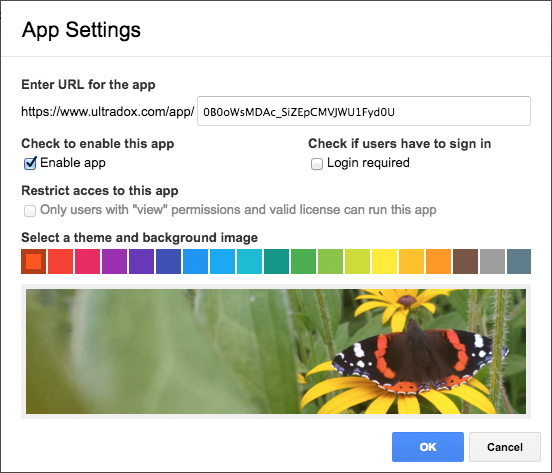
Click on the App settings icon in the main toolbar of the Ultradox editor to open the settings dialog.
Check the box to enable the app.
Select a color scheme and background image and click OK to save the settings.
Click on Run app next to the App settings to open the app in a new browser tab. Share the app by sharing the URL of the new tab.

Embed the form
In the last step, you will learn how to embed the form in your own website. Therefore click on Embed in the toolbar of the Ultradox editor.
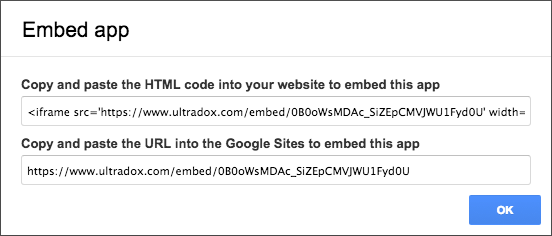
You only have to add the HTML code of the iframe into your website. The clean contact form will shown up without its background. That´s it.
What you have learned
- Adding user facing forms to your app
- Showing formatted output to your users
- Add the form in your website
Learn more
To continue learning about Ultradox, take a look at the following resources:
Quickstarts
Create contract | Calculate values | Request files | Contact form
Questions and Feedback
If you have any comments on this page, feel free to add suggestions right to the Google document that we are using to create this site.
If you are not yet member of the Ultradox community on Google+, please join now to get updates from our end or to provide feedback, bug reports or discuss with other users.
Last Updated: 11/7/17