Ultradox Email Designer
No matter if you are new to Ultradox or if you are already an expert:
The Ultradox Email Designer will help you to create great looking email campaigns using Google Docs.
Check out following tutorial video to get started:
Installation
Install the Ultradox Email Designer Add-on
If you have added Ultradox from the G Suite Marketplace all Ultradox Add-ons will be installed automatically.
You can also install the addon by clicking on the Add-ons menu in Google Docs and pick the Ultradox Email Designer from the list of available Add-ons.

The Ultradox Email Designer will then be installed and a dedicated menu will appear in the Add-ons menu.
Launch the template editor from the Add-ons menu in Google Docs by clicking on Open sidebar in the Ultradox Email Designer submenu at any time.

Instruction
Design newsletter
Create or open a Google Doc from your Google Drive and assign a name if it is still unnamed.
Creating the email template
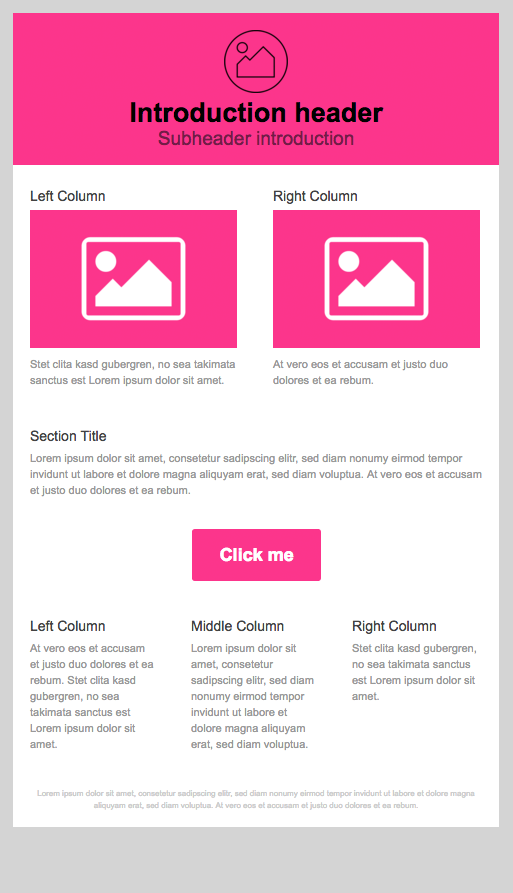
Now open the Ultradox Email Designer from the Add-ons menu and select a theme by clicking Apply theme. The Ultradox Email Designer then adapts your template to the corresponding design and opens the associated modules that are available for this design.

Modules
Once you have decided on a design, the tab with the modules with which you can design the email opens: headers, text blocks, pictures, buttons, the footer, etc.
To insert a new module, position the cursor in the section to which you want to add the module. Select a module and click Insert. The module appears below the current section.
Delete a selected section by clicking the Delete selected row button at the bottom of the sidebar. The section in which the cursor is positioned is deleted.
Type text directly into the modules. If you are copying text, be sure to use unformatted text to preserve the styles.
Change images as usual using the main menu Insert > Image or simple copy and paste the image.
Work only with the modules: enter text and image contents into the corresponding modules. If you change the layout and create elements via Google Docs, the functionality is not guaranteed.
Background color
Change the background color of your doc via the menu Add-ons, Ultradox Email Designer: Change background color.
Do not use the File -> Page setup... dialog to change the page color as this will affect the page layout.

Footer
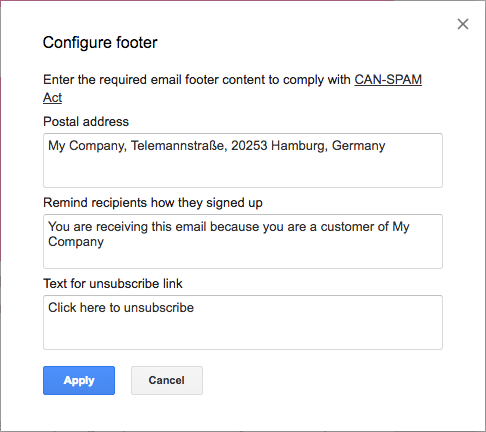
Configure the footer using the main menu Add-ons, Ultradox Email Designer: Configure footer.
In the footer of your template, you can enter your company data, information about why the addressee receives the newsletter and a link to unsubscribe from the mailing list.
Variables
You can also use the Email Designer to insert variables into your template. Select the Variables tab and then the corresponding entry you need. Read the Templating essentials guide.
Setup Email Campaign
If the Google Doc is not yet connected to Ultradox, a button for creating a new Ultradox automation appears in the add-on sidebar. Click on the button to set up your Ultradox email campaign.
To send and track emails with Ultradox you'll have to grant access to several Google services.
We only access the services for running your campaign, we do not store any of your data.
Your Ultradox Automation will open in a new browser tab. To set up your campaign, follow the wizard. The wizard provides you with two use cases:
- Select the subscribers to your newsletter from your Google contacts
- Select subscribers to your newsletter from a Google spreadsheet document
All other relevant data and links are entered in the wizard in the following steps. (Naming and selecting the Goolge templates, selecting a test contact to which the campaign will be sent in advance for review, and selecting the sender and subject of the email.)
Finally, you can choose whether you want to track your campaign with Google Analytics or Google Sheets to see if users open or reject your emails, they have been delivered or could not be delivered.
Open a preview of your template by clicking on the icon in the top right-hand corner of the Ultradox Email Desinger sidebar. The preview shows you your template as it appears in an email or on a smartphone.
Questions and Feedback
If you have any comments on this page, feel free to add suggestions right to the Google document that we are using to create this site.
If you are not yet member of the Ultradox community on Google+, please join now to get updates from our end or to provide feedback, bug reports or discuss with other users.
Last Updated: 12/13/19